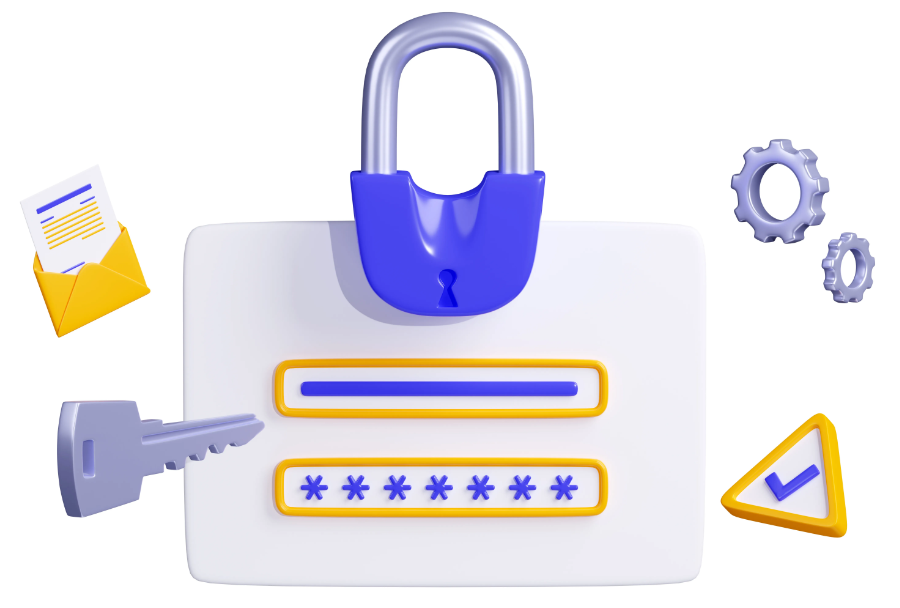

If you want an extra lock on your SSH access, one-time passwords (OTP) are cheap to set up and hard to get past. A stolen key or password is no longer enough on its own: the attacker also needs the code your phone generates every 30 seconds.
This is how I set it up, step by step.
Step 1: install libpam-google-authenticator
Open a terminal and install the PAM module:
$ sudo apt update && sudo apt install --assume-yes libpam-google-authenticator # Ubuntu and Debian variants
Step 2: change the SSHd configuration
Open the SSHd configuration file with whatever editor you use:
$ sudo vi /etc/ssh/sshd_config
Find the ChallengeResponseAuthentication line, remove the leading # and set it to yes:
ChallengeResponseAuthentication yes
If you only want the keyboard-interactive method for one specific user, add these lines:
Match User username
    AuthenticationMethods keyboard-interactive
Note: the keyboard-interactive method is enabled by default for every user.
Step 3: set the authentication methods
If you need to leave some users out of the OTP second factor and let them in with other methods, adjust the SSHd configuration to your needs. For example:
auth    required      pam_unix.so     no_warn try_first_pass
auth    required      pam_google_authenticator.so
Step 4: restart the SSH service
Restart SSH so the changes take effect:
$ sudo systemctl restart ssh
Step 5: configure OTP for the users
Open the PAM configuration file for SSHd:
$ sudo vi /etc/pam.d/sshd
Add these two lines at the end. The first one asks for the password; the second one runs the Google Authenticator module right after:
auth    required      pam_unix.so     no_warn try_first_pass
auth    required      pam_google_authenticator.so
Step 6: generate the OTP credentials
Run google-authenticator to set up the user and get the QR code:
$ google-authenticator
Repeat this step for every other user.
Answer y when it asks about time-based tokens, scan the QR code with an authenticator app, and type in the code the app gives you.
Step 7: update the configuration and policies
Answer y to update the /home/user/.google_authenticator file, confirm that each time-based token can be used only once, and accept the code generation and usage policies.
Step 8: enable rate limiting (optional)
Answer y to enable rate limiting. It caps the number of login attempts, which takes most of the sting out of a brute-force attack.
That is all. Your SSH server now asks for a second factor on every login.
Remember to repeat step 6 for every user who needs access. It takes a few minutes and closes the door on most attempts to get in with a stolen password.